I love borders! I love not only creating them, but also using them in my products. They are so fun to create because the possibilities are endless! I love combining lines, circles, and dots to create unique and fun borders. I love using borders because they can be the perfect little touch to make a cover stand out, to separate areas on a worksheet, or to make fun and creative graphic organizers (which is another passion of mine!)
I have been in awe over the response that I have received from teachers on TpT who have purchased my borders! I never dreamed when I posted my first set of borders a couple of years ago, that anyone would like them, or that hundreds of teachers would purchase and love them! In fact, I remember after posting my first set on TpT that I would just give them a couple of days, and if no one purchased them, I would simply remove them from my store. To my surprise, teachers not only purchased them, but left such sweet feedback, that I was inspired to create more. Well, now I have many sets available, and creating them has been so much fun!
I occasionally receive a question on TpT about how to use the borders or how to put them into a project, so I decided to create a tutorial to help anyone that is a little confused about how to use borders and to put them into a worksheet, PowerPoint, etc. I have also included instructions on how to add a background layer. Now as with any computer program, there are numerous ways to accomplish one task. You may have another way that you add backgrounds, but I like this way because you can use any size or shape background (square or rectangle) and make it fit your creation without altering the design of the background. It will still look like it was intended to look and not be stretched.

To begin, I create everything in PowerPoint. Even if I am just wanting a worksheet or a newsletter, I use PowerPoint because I can manipulate my clipart and text much easier.
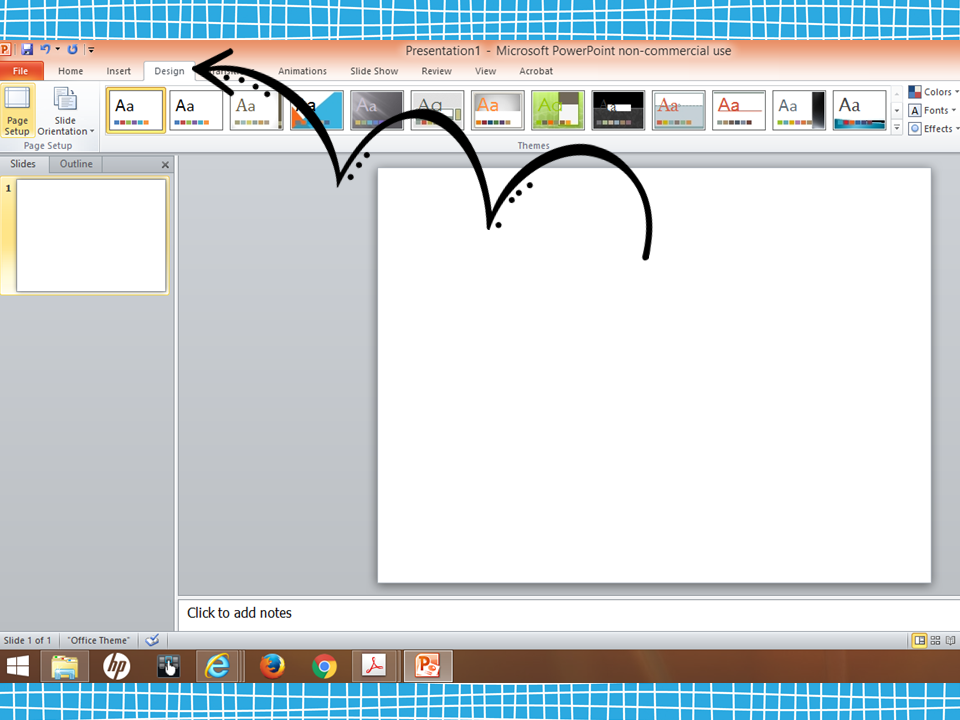
To begin, open PowerPoint.
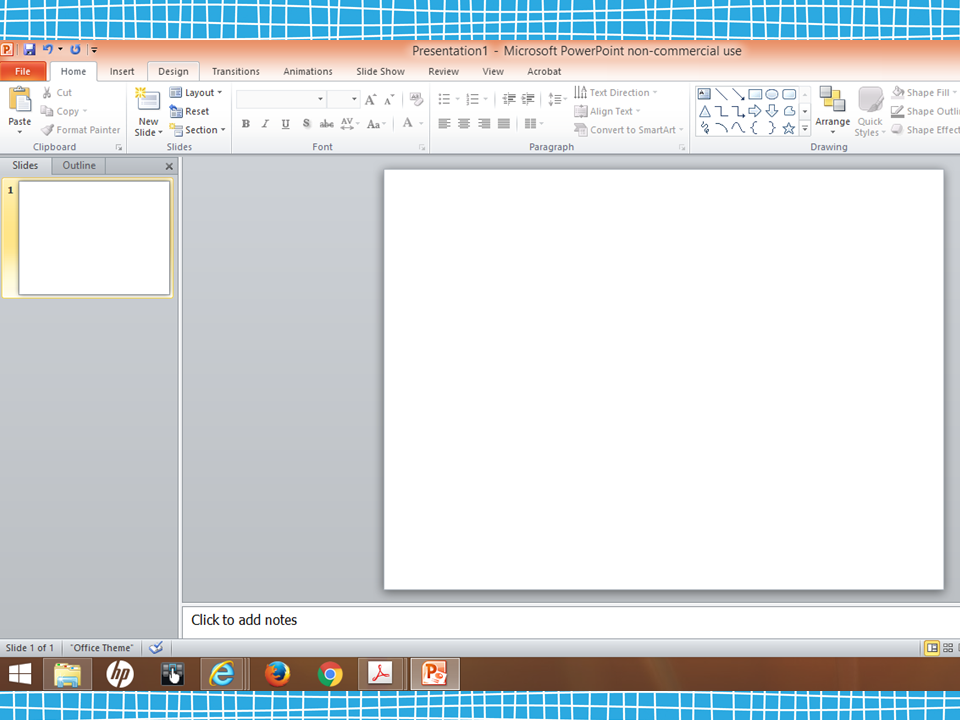
Next, go to “Design.”
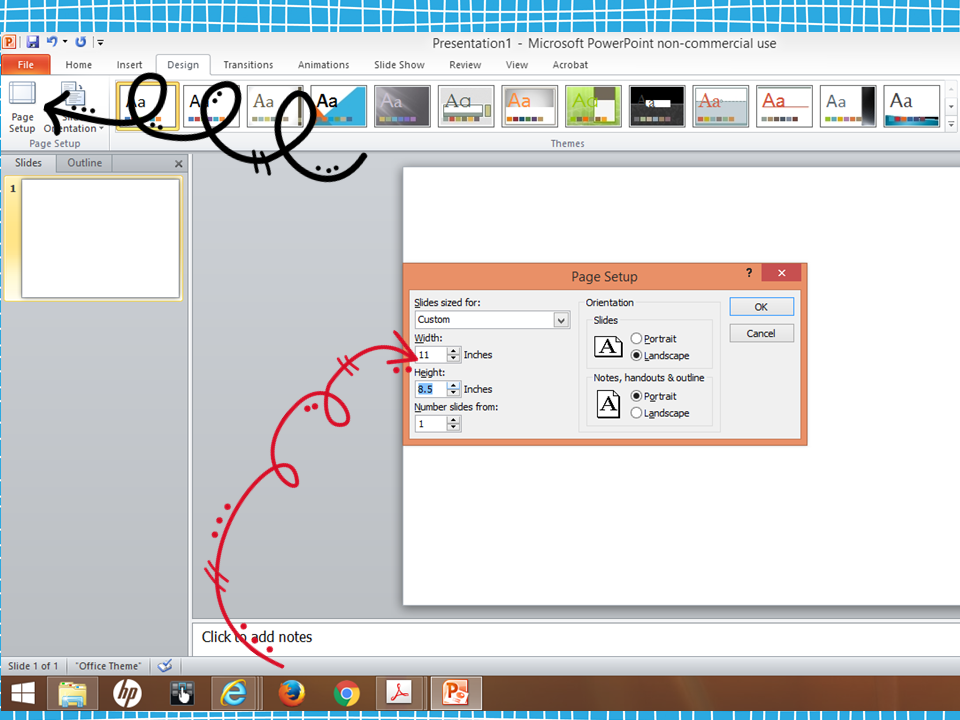
Now, click “Page Setup.” A box will pop up, and you can set up your page to paper size (see the red arrow). Set the size to 11″ by 8.5″ if you are creating something to print. If you are wanting to create a PowerPoint to use as a presentation, do not change the size.
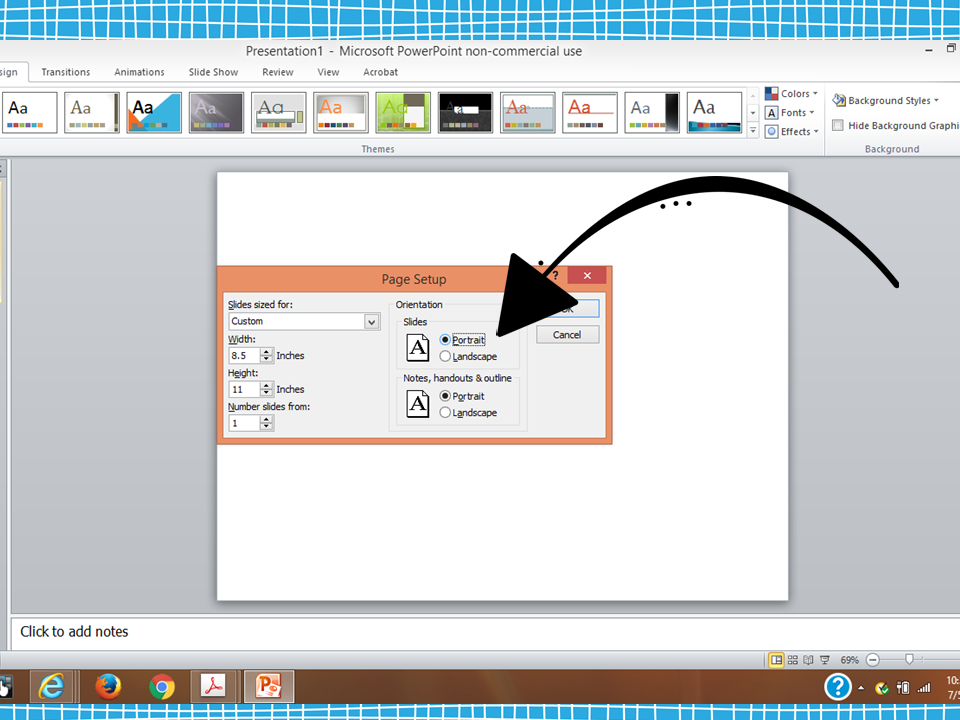
Choose “Portrait” or “Landscape” for you needs and click “OK.”
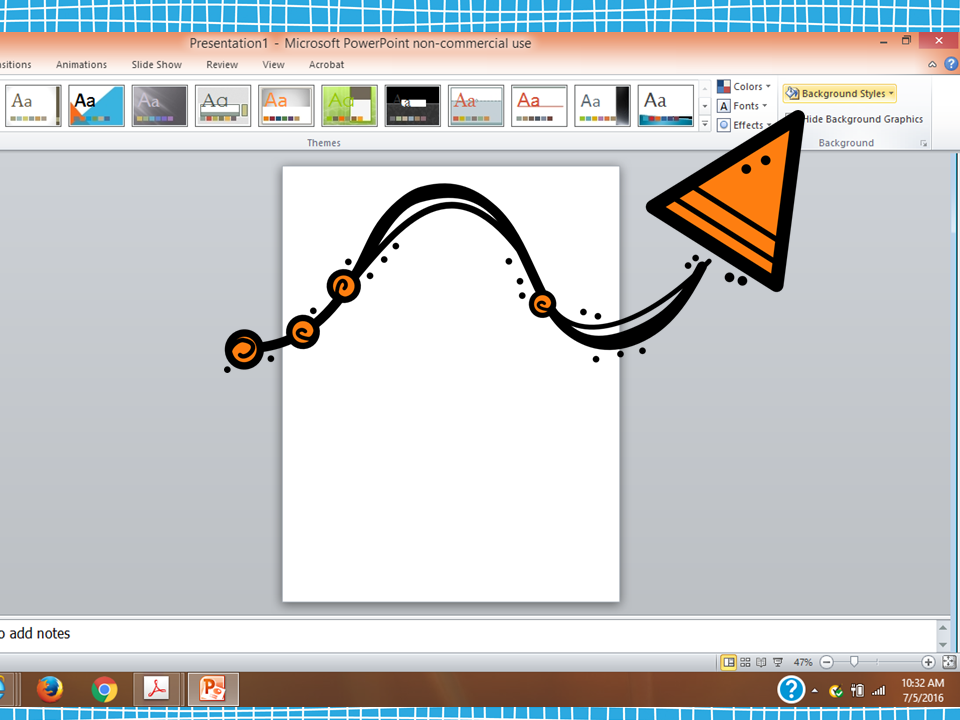
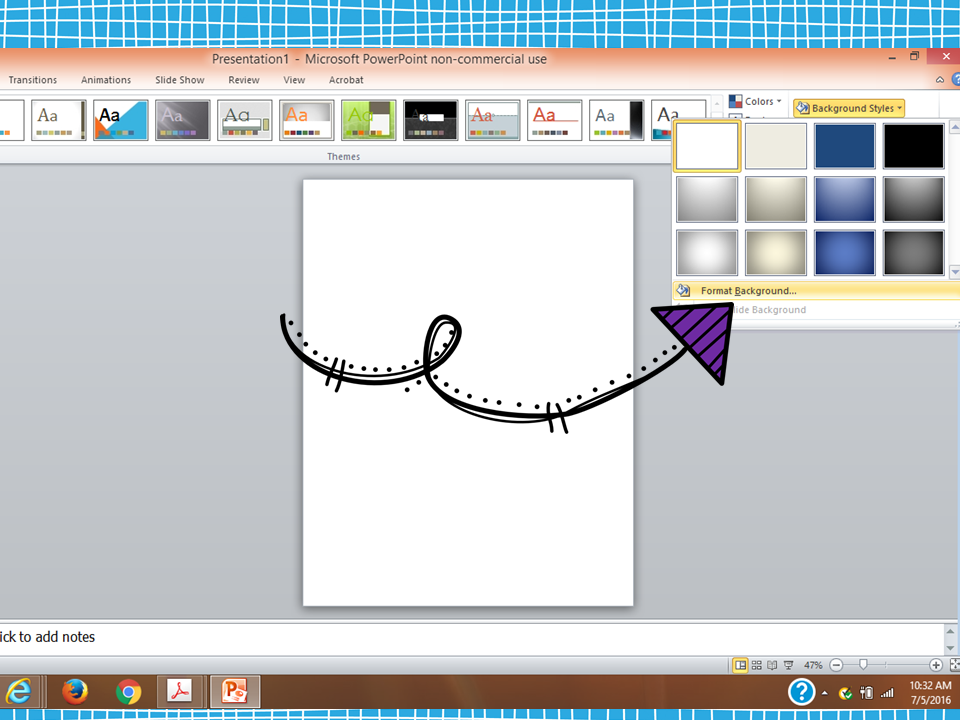
The following steps are instructions for layering a background image. If you do not need a background, skip down to ***. You should still be under “Design.” In the right hand side, you will see “Background Styles.” Click it.
A box will pop up. Choose “Format Background.”
Now choose “Picture.”
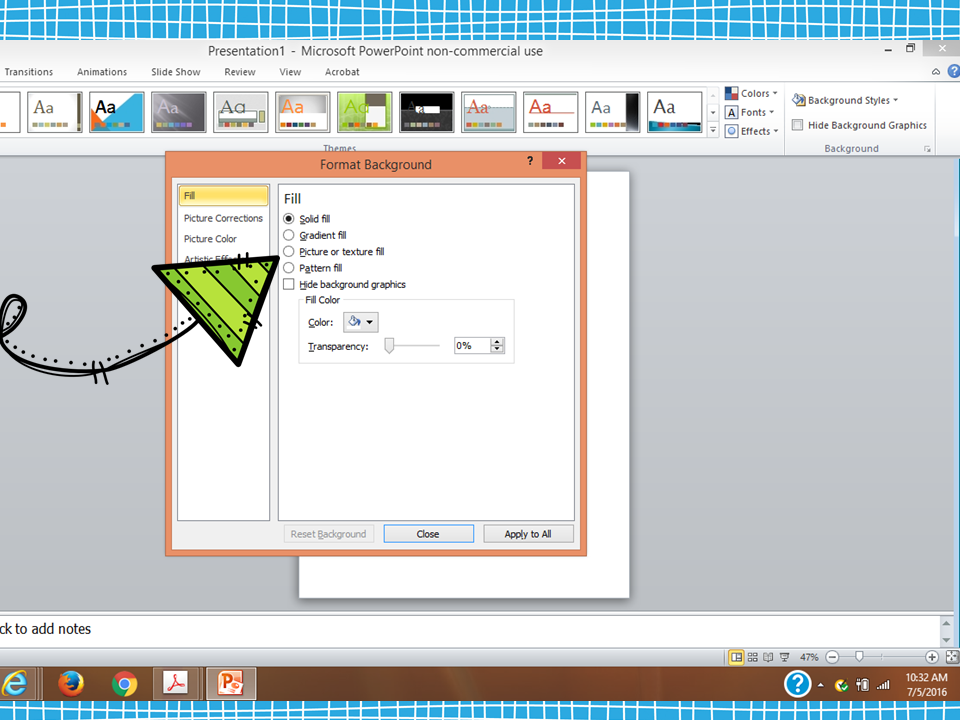
Go to “File.”

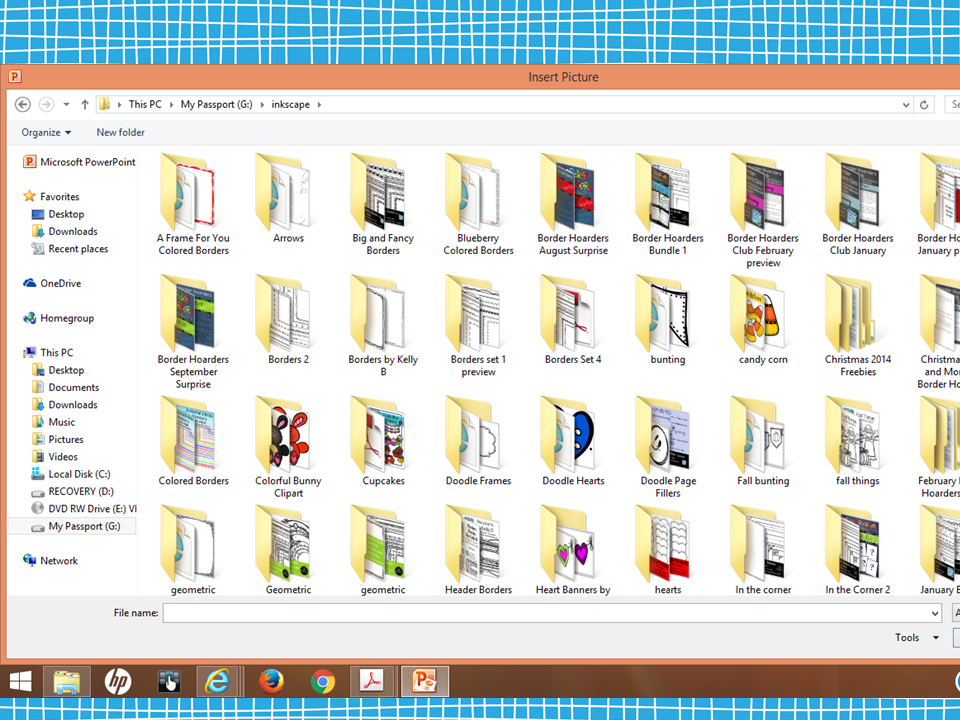
From there, go to your jump drive, folder, or where ever you have saved your digital papers. I like to store all of my papers and clipart on an external hard drive. I have organized all of my digital papers into one folder. Choose the paper that you want to use and double click or press “Insert.”
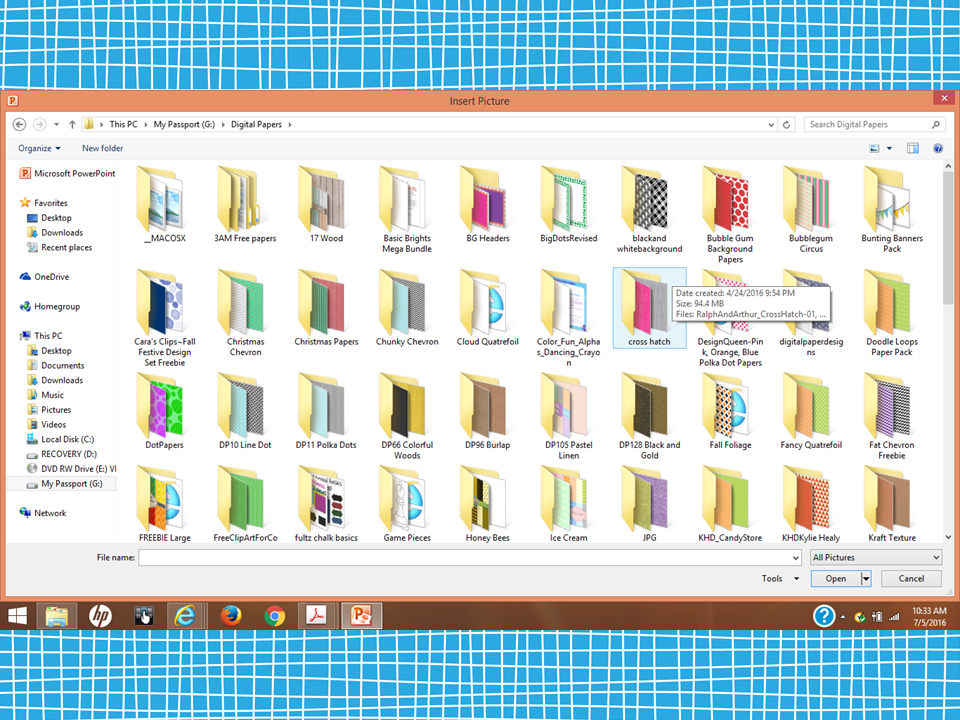
The paper will appear on your page. It should appear proportionally correct! 🙂
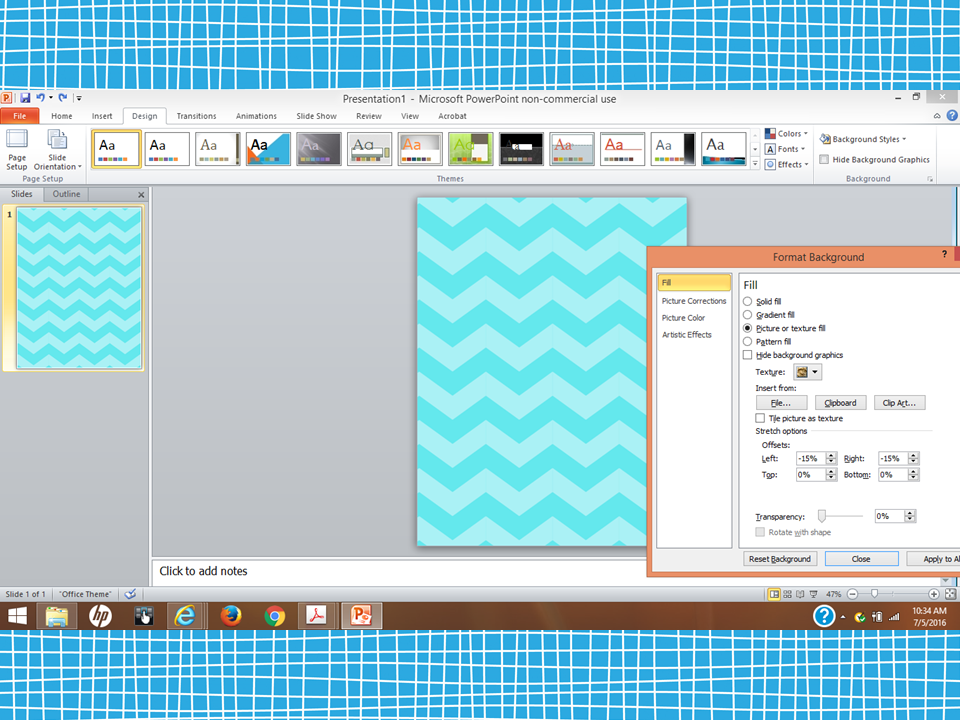
If something about the design does not look exactly right or if you decide that you would like to make the design larger or smaller, you can choose “Tile Picture.” You can play with the offset numbers to adjust the look of the design, to help center designs on your background, or change the alignment of the fill.

***Now, you are ready to insert your border. Of course, if you are creating a worksheet, newsletter, etc. you do not need a background. You could simply skip the above steps. Now, click the “Insert” tab.
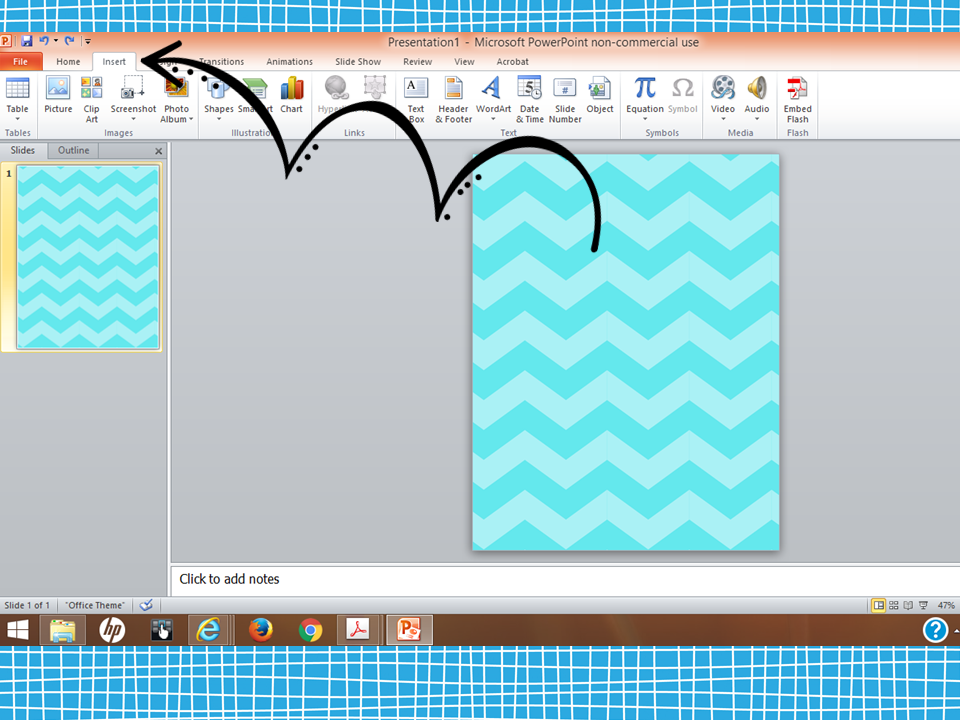
Go to your files on your computer, jump drive, etc. to find where you have saved your borders (or clipart). I like to save my clipart by designer. It helps me find the clipart I need quickly and it alswo helps me be able to credit the artists correctly. You will insert any clipart in the same way. Borders, like clipart are png images or pictures. You will need to insert the border. Fist, choose the folder where you saved the border.
Choose your border and double click or click once (the border will shade blue) and choose “open.”
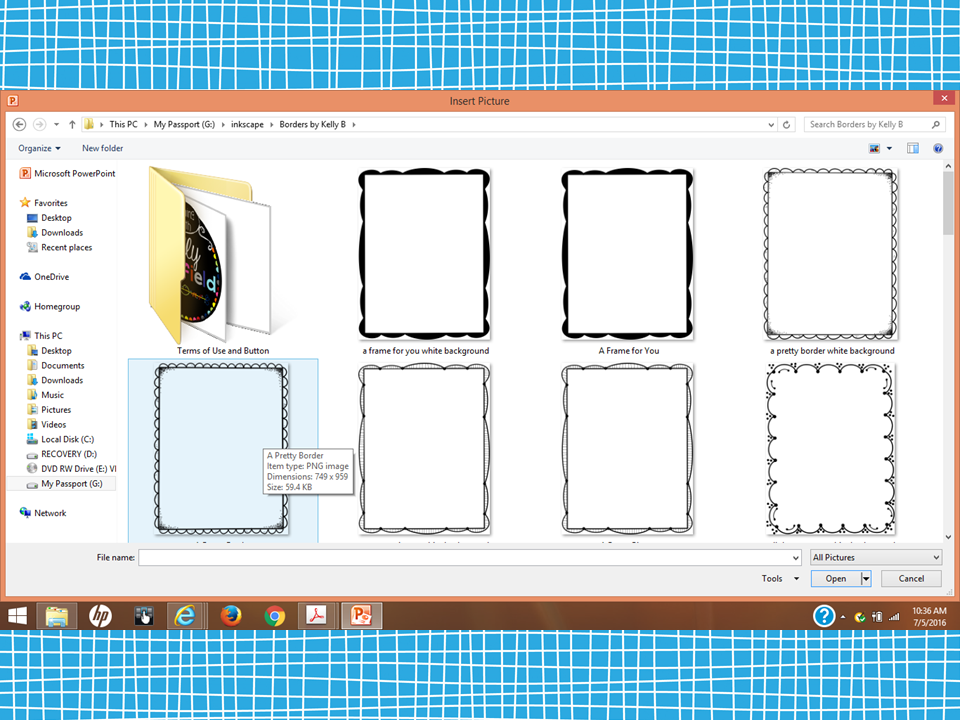
The border will appear on your page! It is that easy!!! If it is not the size that you need, simply click on the circle in one of the corners and hold down. Drag the image the size that you want it.

You can insert text, add more clipart, and create away! When you are finished, save to a folder and print. It is really that easy! I hope this helps you with your creating!!!
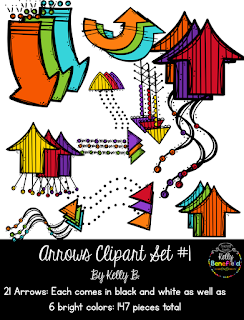
The arrows that I used in this demo are from one of my newest Border Hoarders sets:
NOW FOR THE GIVEAWAY!
Update: Congratulations Garden Full of Learning! You are the winner of my borders!
I will be uploading the last set to this Border Hoarders and More Bundle very soon, and I will be giving away this entire bundle plus one border or clipart set from my TpT store of your choice (up to $4.50 in value) to one special person on July 25th. A prize of a value of $18.50. To enter, simply follow my new Instagram @kelly_benefield, leave a comment below letting me know that you followed, and your email address. It is that simple!
Have a blessed day!